The Quickture Premiere panel is a .zxp file installed in your Adobe extensions directory. But you don’t need to know anything about that to install it! Just follow these instructions.
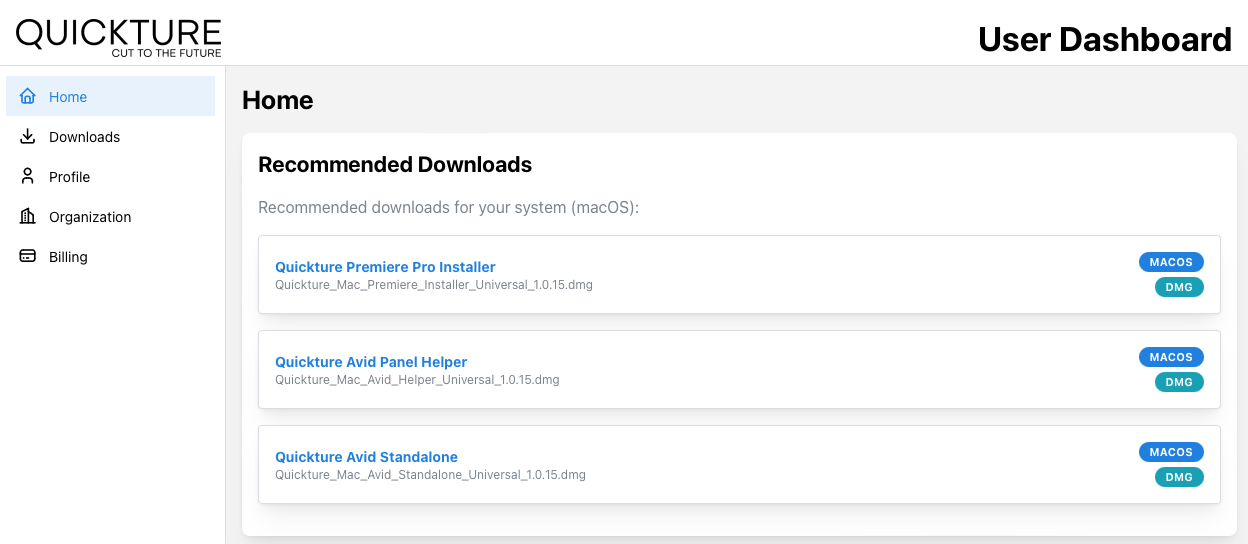
Log in to https://dashboard.quickture.com. In the Home > Recommended Downloads or in Downloads > For You, you’ll see the installers for your operating system. Click the installer for Quickture Premiere Pro Installer to download.
If you want installers for a different platform, or a different kind of installer, you can find them all under Downloads > All Installers. Note that the MSI installer is a Windows installer usually used by professional installers only.
If you’re on a Mac, download the Universal binary installer which works for both Intel and Apple Silicon Macs. The link will download a dmg (disk image) you can open by double clicking.
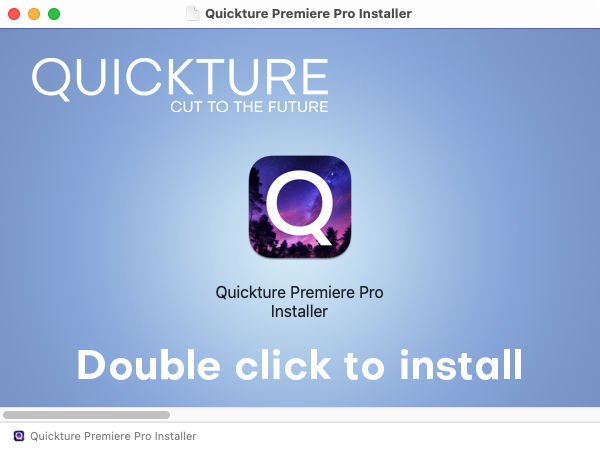
Double click the Quickture Premiere Pro Installer.
The installer will launch and walk you through the process of installing the latest Panel in your Adobe Premiere Pro system.
After you install the panel, click Close Window. You can now safely delete the dmg.
If you’re on Windows, download the .exe installer. Double click to launch setup.
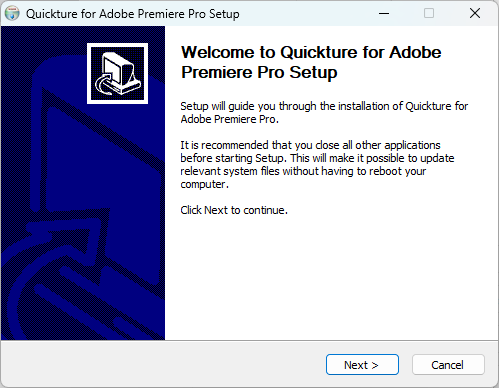
When setup completes, select Run Quickture for Adobe Premiere Pro.
The Quickture installer will launch and walk you through the process of installing the latest Panel in your Adobe Premiere Pro system.
After you install the panel, click Close Window. You can now safely delete the .exe installer.
Now restart Adobe Premiere Pro and open the Quickture panel in the Window menu under Window > Extensions > Quickture.
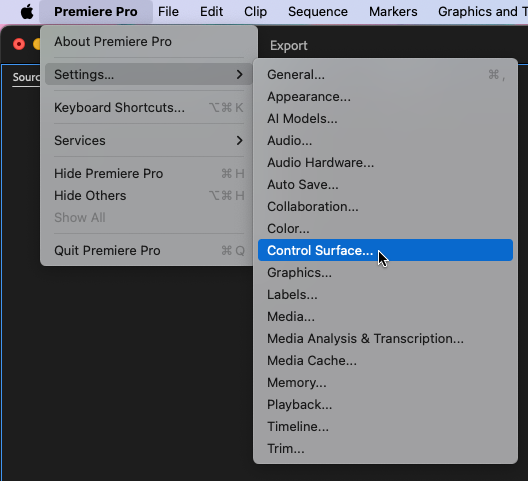
To use our latest cutting mode for Premiere Pro, you’ll need to install the Quickture Control Surface.
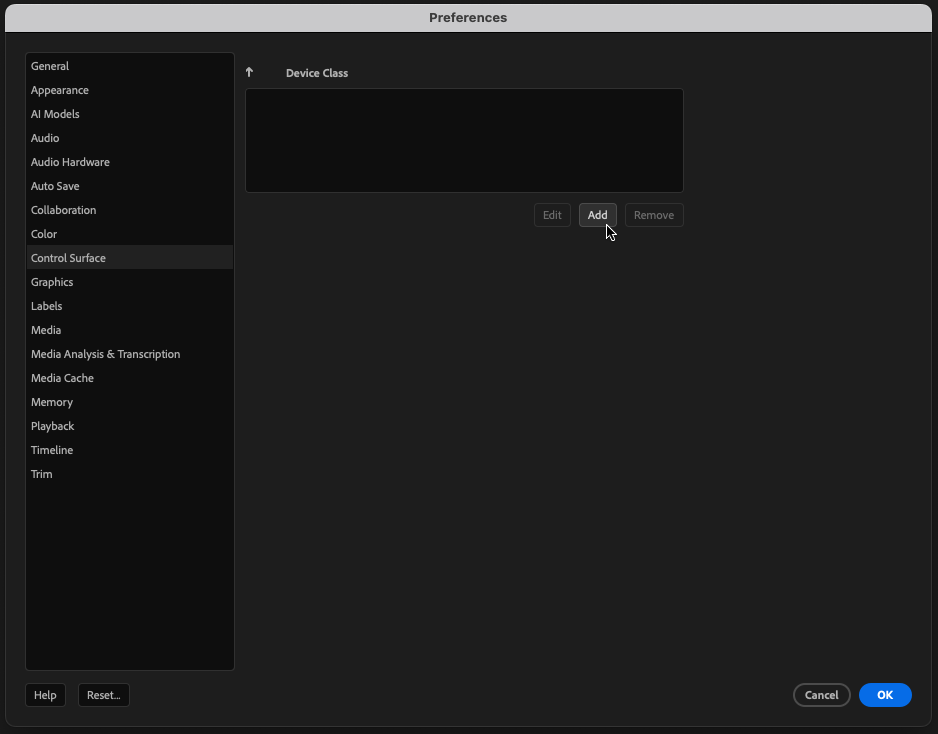
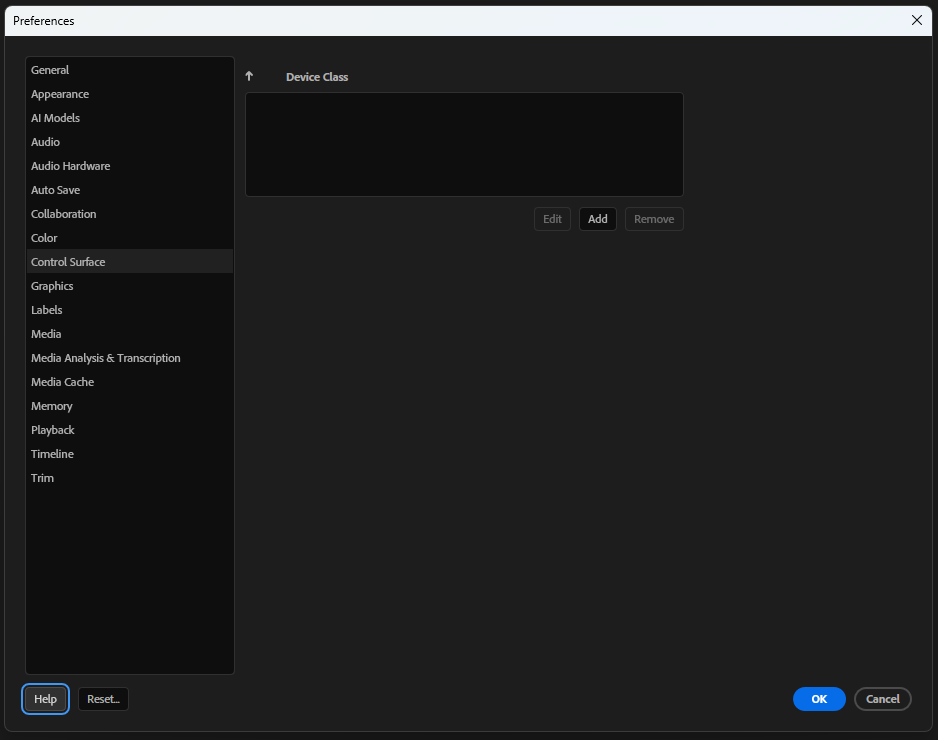
On Mac, under the Premiere Pro menu select Settings > Control Surface...
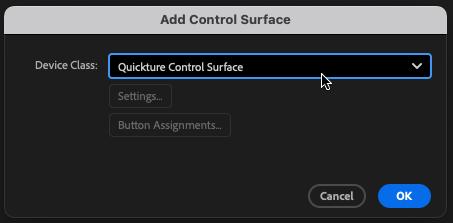
Click “Add” and select “Quickture Control Surface”.
Click “OK” and you should now see the Quickture Control Surface in the list of devices.
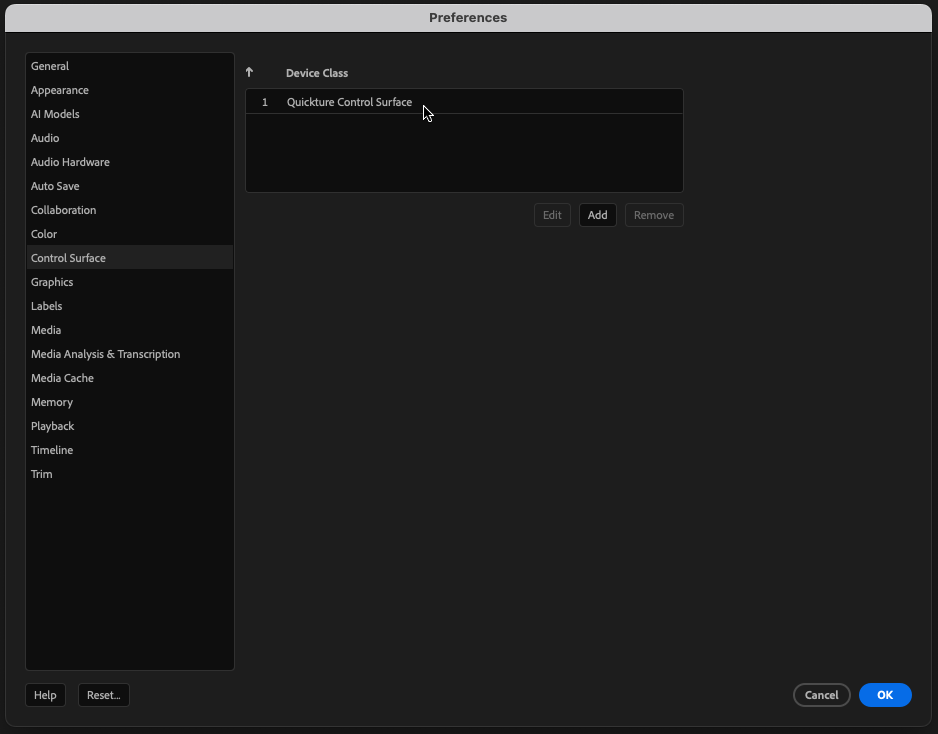
Click “OK” again, and you’re all set.
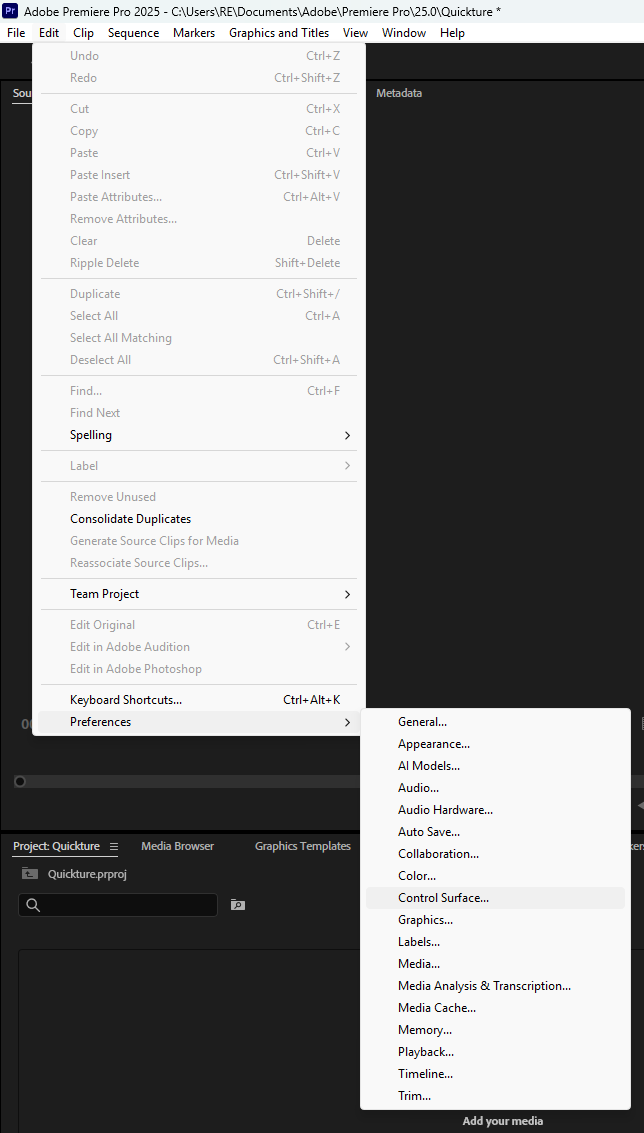
On Windows, under the Edit menu select Preferences > Control Surface...
Click “Add” and select “Quickture Control Surface”.
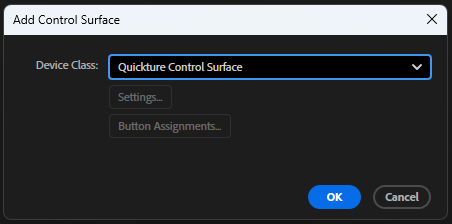
Click “OK” and you should now see the Quickture Control Surface in the list of devices.
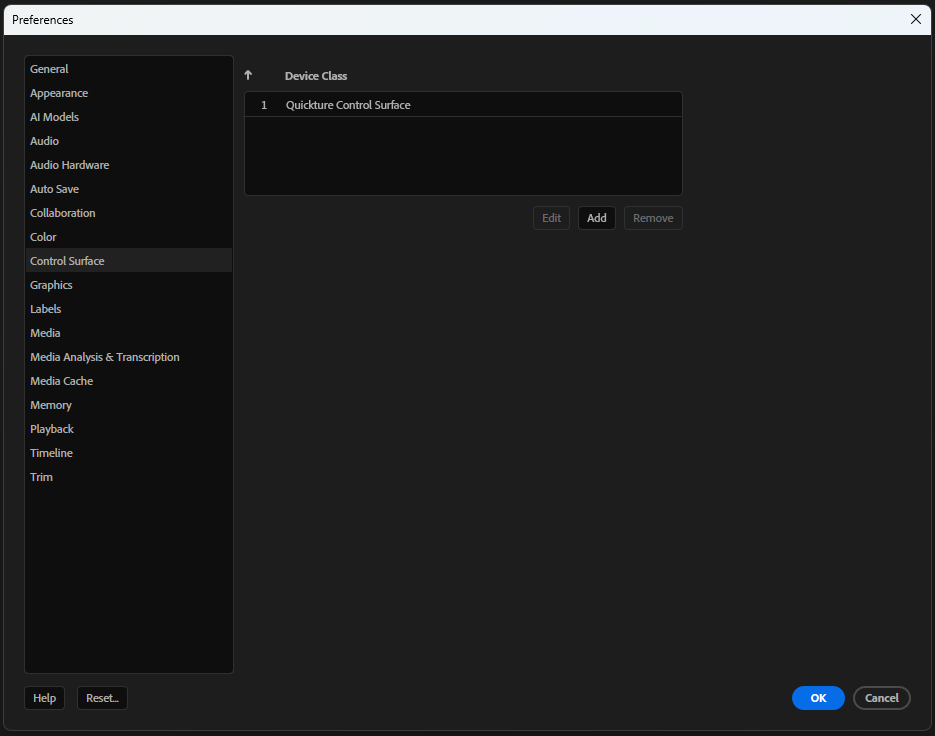
Click “OK” again, and you’re all set.
Make sure Quickture has the correct network access. Required Open Ports
